About this deal
The benefit to fleece is that it won’t fray when washed… and you may not need to wash this a lot regardless. As a result, you can leave raw edges unlike if you were working with flannel or cotton fabric. Find the center of the circle and pin it so you don’t lose it. Then place your circular item over it, trace with a marker, and cut out your circle! First, you’ll want to go to stitchuponatime.com and grab the free Riding Hood car seat poncho pattern. I have seen this question being asked a lot. I think it’s feasible to make a no sew car seat poncho if you leave off the hood. You can use a separate hat instead of a hood. It also means nothing is interfering with the function/strength of the car seat straps. Sizes Car Seat Ponchos for Babies
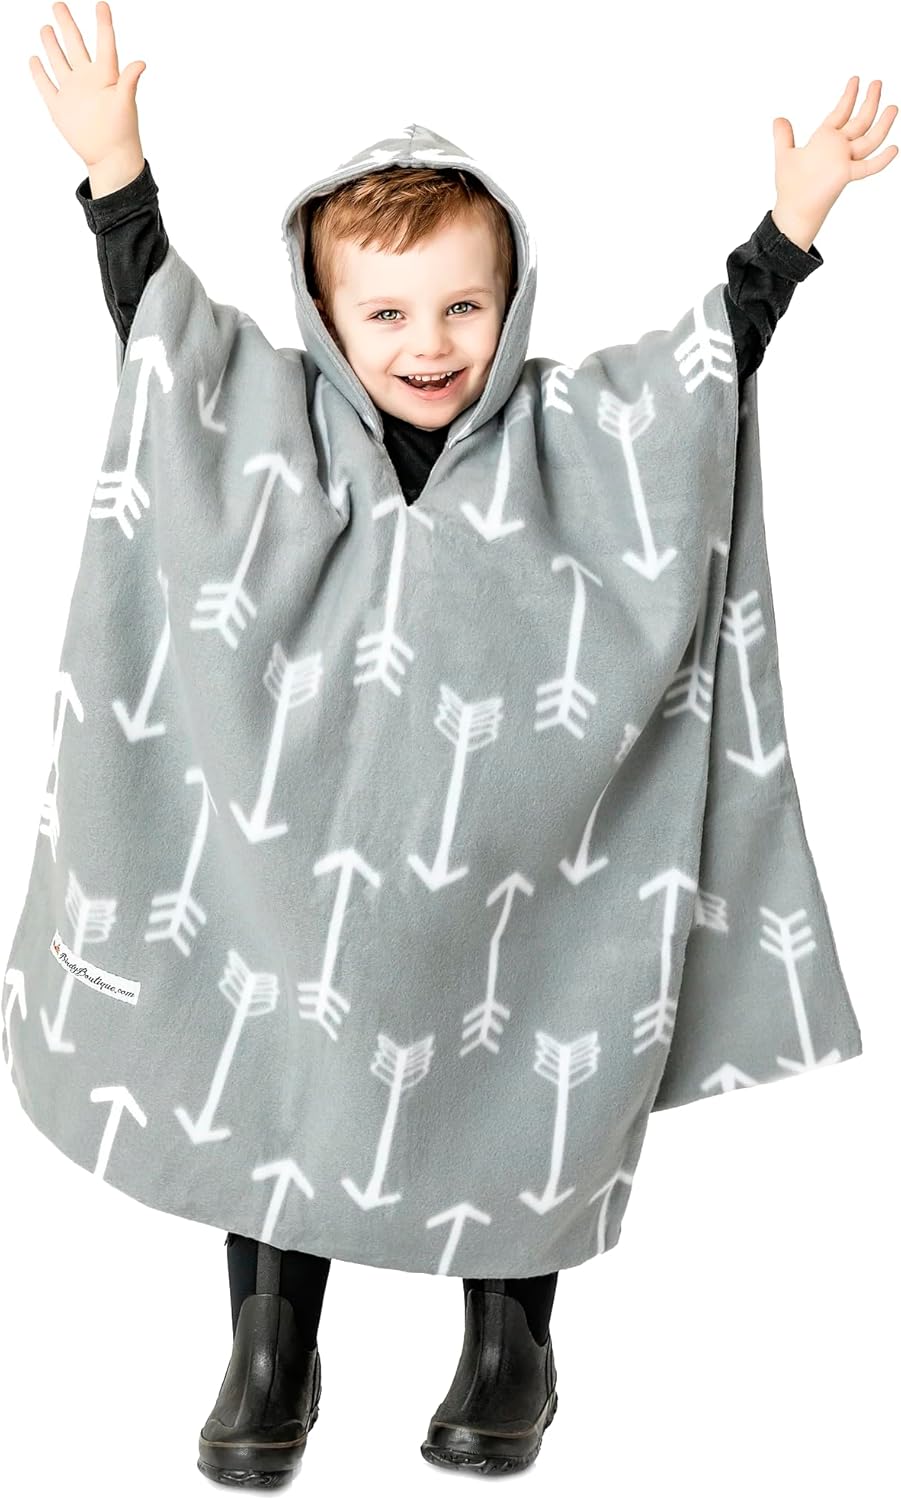
Fold the edge of the fleece over about 1/2” and pin every couple inches all the way around. When you stitch this up, TAKE IT SLOW! And just do an inch or so at a time, feeling as you go to make sure everything is staying in place just so. (sorry I forgot to turn the light off on my sewing machine for this pic) We always have a parka and snow bibs for snow play at home, but these ponchos are PERFECT for errands. If you want your child to use this as a play coat too, you can add arm openings to the poncho.Lay out the fleece on a large surface, smooth it out, and measure (twice!). Mark the cut points with a removable ink pen or chalk and cut 2 rectangles, 38 in x 28 in each. The great thing about this poncho tutorial is that the pieces don’t have to be perfect, they don’t have to perfectly align and you won’t even see a difference. Step 3. Pin Body Pieces Most parents of young kids know bulky winter coats are not safe to use with car seats. So how do you keep your kids warm without needing to remove those heavy winter coats? With a car seat poncho. I prefer to use the car seat poncho once my child has more mobility. Car Seat Ponchos for Toddlers and Kids
With right sides together, pin and sew together. Take extra care to line up the seams at the top. Take the two exteriorpiecesand sew together using a .5 inch seam allowance. This can be done with a walking foot to help with the bulk especially just over the ears. Repeat with the lining. Step 5 –Sew the hood exterior and lining together
Step 4a – assemble the hood
And while we are on the topic of pom-poms, please know that you can make them any way you want. Although there are special pom-pom makers, I still prefer to use a simple homemade pom maker like the one in this tutorial. The pom poms I made for this crochet poncho were all made on a 1½ inch form, but for the pom-pom that was going on the hood I wrapped the yarn several more times so that it would be a bit bigger. Finishing IF YOU WANT TO MAKE A DECORATIVE APPLIQUE, LIKE OUR BOW TIE, GO TO STEP 13 NOW Step 5. Sew Body Pieces
This super hero cape goes around the arms and can be reversed to be a car seat blanket for baby! Get the tutorial here. With right sides together pin the two hoods together, making sure the seam at the top lines up on bothpieces. Using a walking foot sew the two together using a .5 inch (1.25cm) seam allowance. Turn hood right side out and set aside. Step 6 – sew the outer body of the cape together I would go with a single layer fleece. You can finish all of the edges with bias tape. It would be easy to do and be similar to those zippered fleece coats most kids wear for warmer cold days. Sew slowly about 1/8 inch from the edge, or whatever makes you comfortable, and use your finger to guide the fabric. I usually have to pinch the edge and guide it in to make sure that the seam is out as much as possible. See step 5 photo. You can pin the opening and slow down when you get to it as it may take extra finagling to line up the edges; or you can just eye it and go for it. Step 6. Sew Around Hood Opening Hem around the circle for the head hole too. Then lay it over the fleece circle and try to get it as centered as possible. This is a good time to think about whether there’s an ‘up or down’ to the print. Pin it down along the seem every 4-5 inches, then sew the two layers together right over the existing seam. I used a zigzag stitch so it would be a little forgiving, just in case I didn’t follow the line perfectly.Turn right side and sew gap shut. Optional – top stitch all the way around the cape using a .25 inch (.5 cm) seam allowance. Step 9 – add button and button hole. Note: Measurement I used for the length of my poncho was 23″… my video has instructions on how to adjust if needed, but this measurement has worked well for my kids. After sewing, using & selling these adorable SAFE car seat ponchos for over half a decade, we decided to share our original recipe with you! This is where it all started for us. We designed and tested many versions of this poncho over the years and wanted something simple and effective. Now we laid out all the steps and took pictures so that you can make them yourself in our car seat poncho step by step tutorial guide; a very easy DIY project that you can perfect in about an hour. I have a feeling a LOT of you are going to be making one of these car seat ponchos for toddlers for your little one, so be sure to send me pics or tag me on social media! (@RealityDaydream) …I can’t wait to see how yours turns out!
 Great Deal